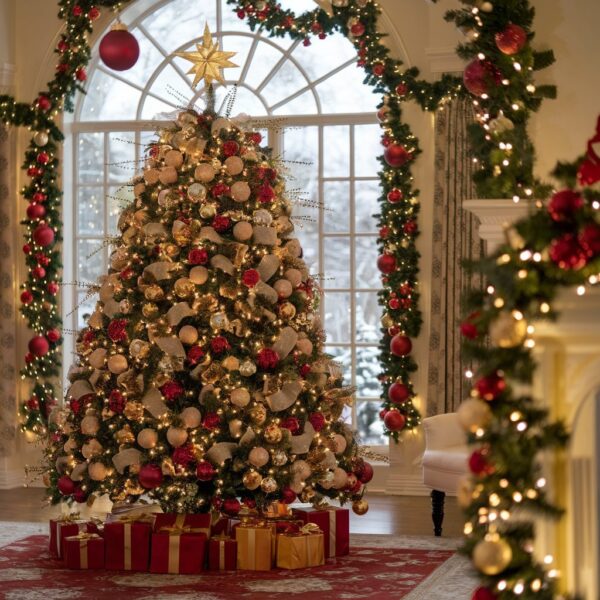
Is there anything more magical than a glowing Christmas Village at night? It’s the centerpiece of my holiday Christmas decor, a tiny, twinkling world that just captures the spirit of the season.
But have you ever found yourself setting up the same houses in the same basic layout year after year, feeling like it’s missing a little… pizazz? You’re not alone.
I was right there with you until I started playing with these creative concepts. Forget boring! Let’s dive into these festive Christmas Village ideas that will completely revolutionize your holiday display.
1. The Multi-Level Mountainscape
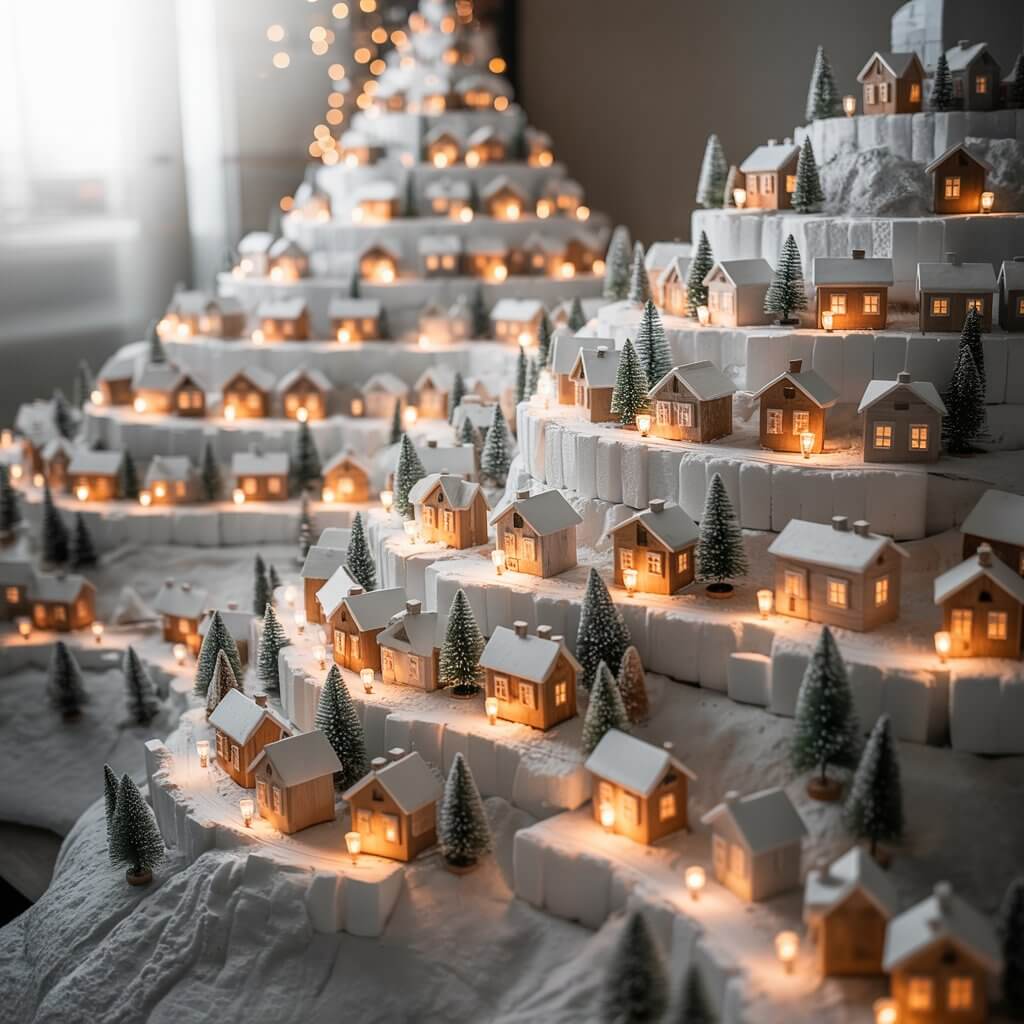
Don’t just let your village sit flat on the mantle. Create dramatic alpine slopes using sturdy, painted styrofoam blocks or even old, wrapped books. This gives you incredible depth and lets every tiny building shine. It feels more like a real town nestled in the hills, doesn’t it?
Why it works:
- It instantly adds a professional, dynamic look without needing more pieces.
- You can hide power cords for lights on the different levels.
- It creates little nooks for adding extra trees or figurines.
- Your eye travels across the entire scene, making it more engaging.
Pro Tip: Use a hot wire cutter for styrofoam to avoid the pesky, static-y mess. A little bit of fake snow spray covers a multitude of sins (and jagged edges).
2. A Frozen Mirror Lake
Place a large, sturdy mirror in the center of your village to act as a frozen pond or lake. It reflects the twinkling lights from your buildings and doubles the visual impact of your entire Christmas display. It’s a simple trick that looks incredibly expensive.
How to pull it off:
- Find a cheap, unframed mirror from a home goods store—it doesn’t need to be fancy.
- Ensure it’s placed on a perfectly flat surface to prevent sliding.
- Scatter a few “skating” figurines or small, fake pine trees around the edges to blend it in.
Personal Fave: I did this last year, and the way it caught the glow from the Christmas tree was just chef’s kiss. It made the whole room feel brighter and more magical.
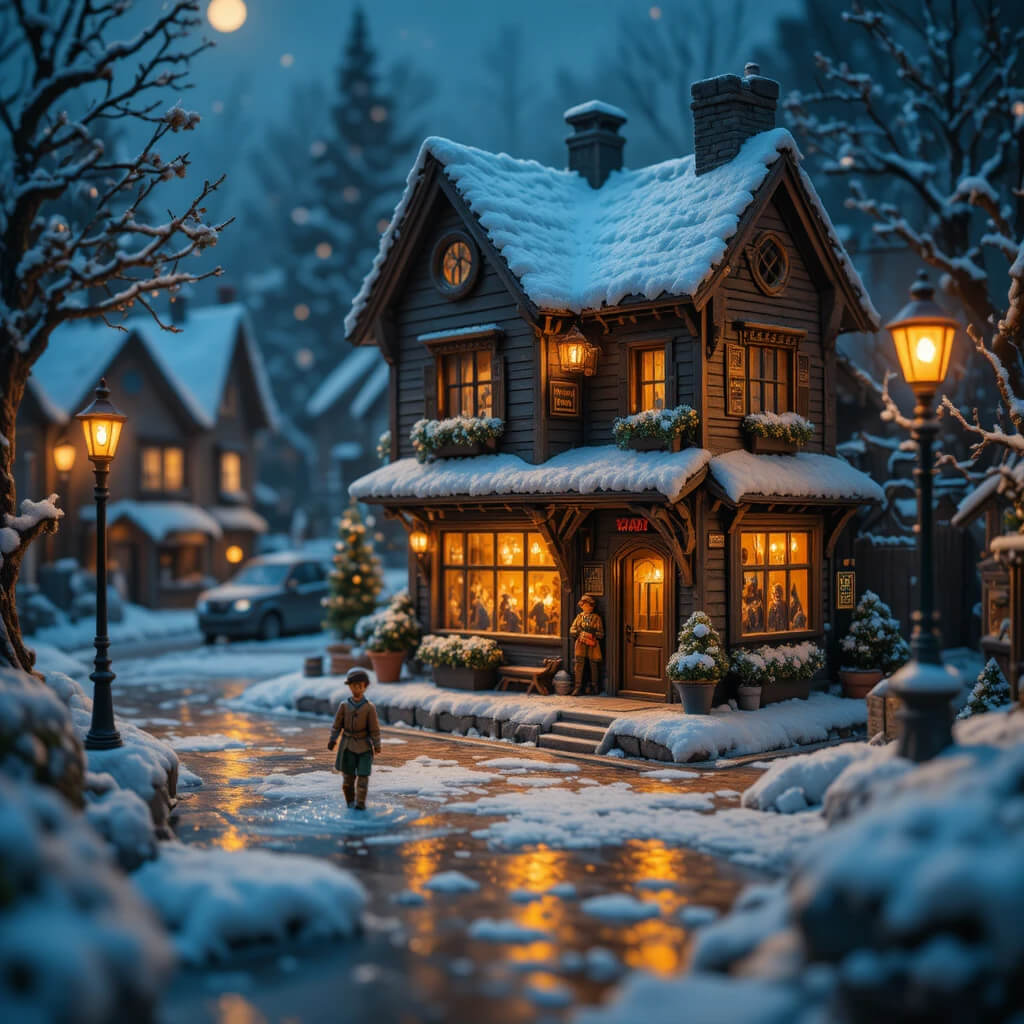
3. The “Night Mode” Glow Up
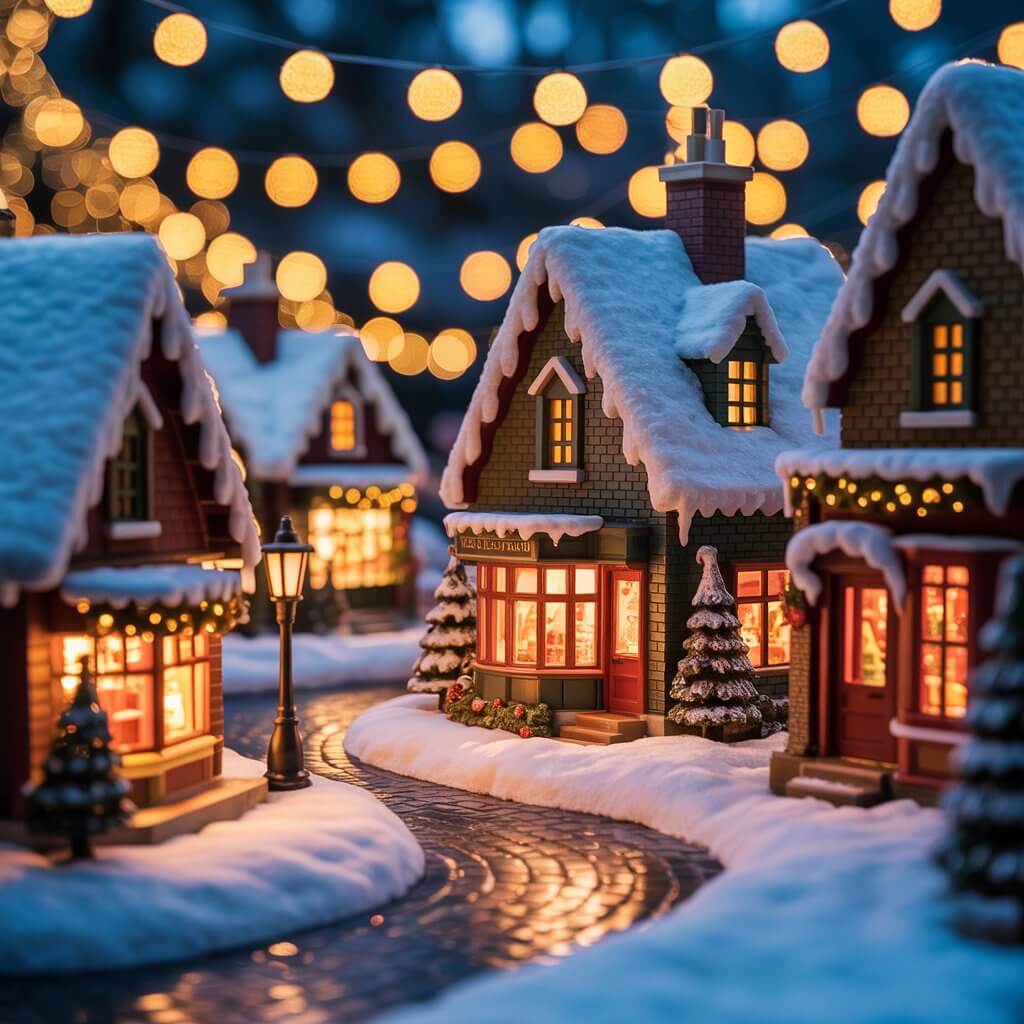
Let’s be real, a Christmas Village isn’t complete without lights. But have you tried viewing it with only its own lights on? Turn off the main room lights and just let the village glow. The ambiance is next-level cozy and really makes the scene feel alive.
Why it’s a must-try:
- It creates an incredibly intimate and festive atmosphere in the room.
- You notice all the tiny illuminated windows and street lamps you worked so hard to place.
- It’s the perfect backdrop for a quiet, festive evening.
Pro Move: Use a smart plug for your village’s power cord. You can schedule it to turn on at dusk and off at bedtime without ever bending over. You’re welcome.
4. Incorporate Realistic Water Features
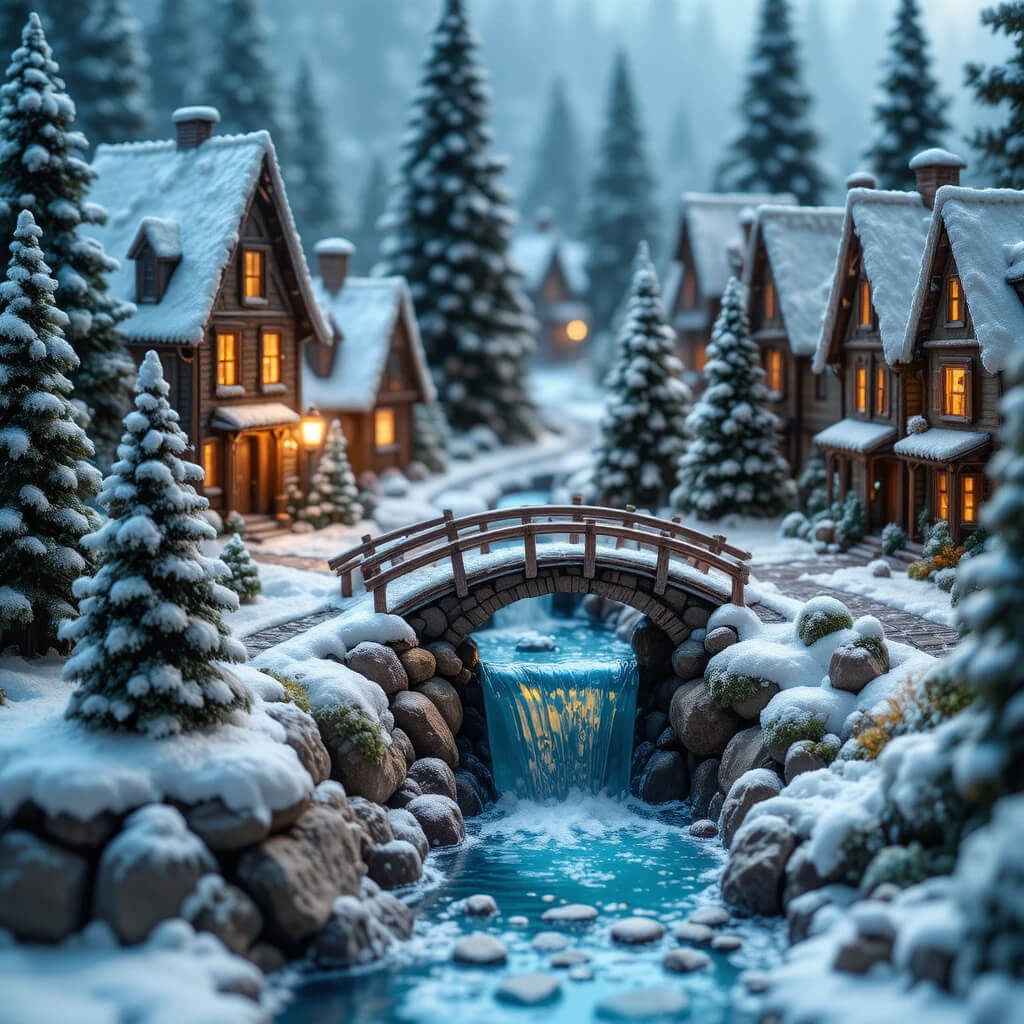
Move over, static mirror! Now you can find amazing, pre-made resin water features with realistic frozen or flowing effects. Placing one of these as a centerpiece for your Christmas Decor adds a touch of serene, wintry realism that is just stunning.
How to integrate it:
- Look for pieces with clear resin to mimic ice or blue-tinted for flowing water.
- Position a bridge or two buildings across a narrow section to connect the scene.
- Add small, white pebbles or coarse sand to the “banks” to make it look natural.
Downside: These resin pieces can be a bit pricey and are often fragile. Handle with care when storing them with your other Christmas Village supplies.
5. The Cozy Book Nook Village
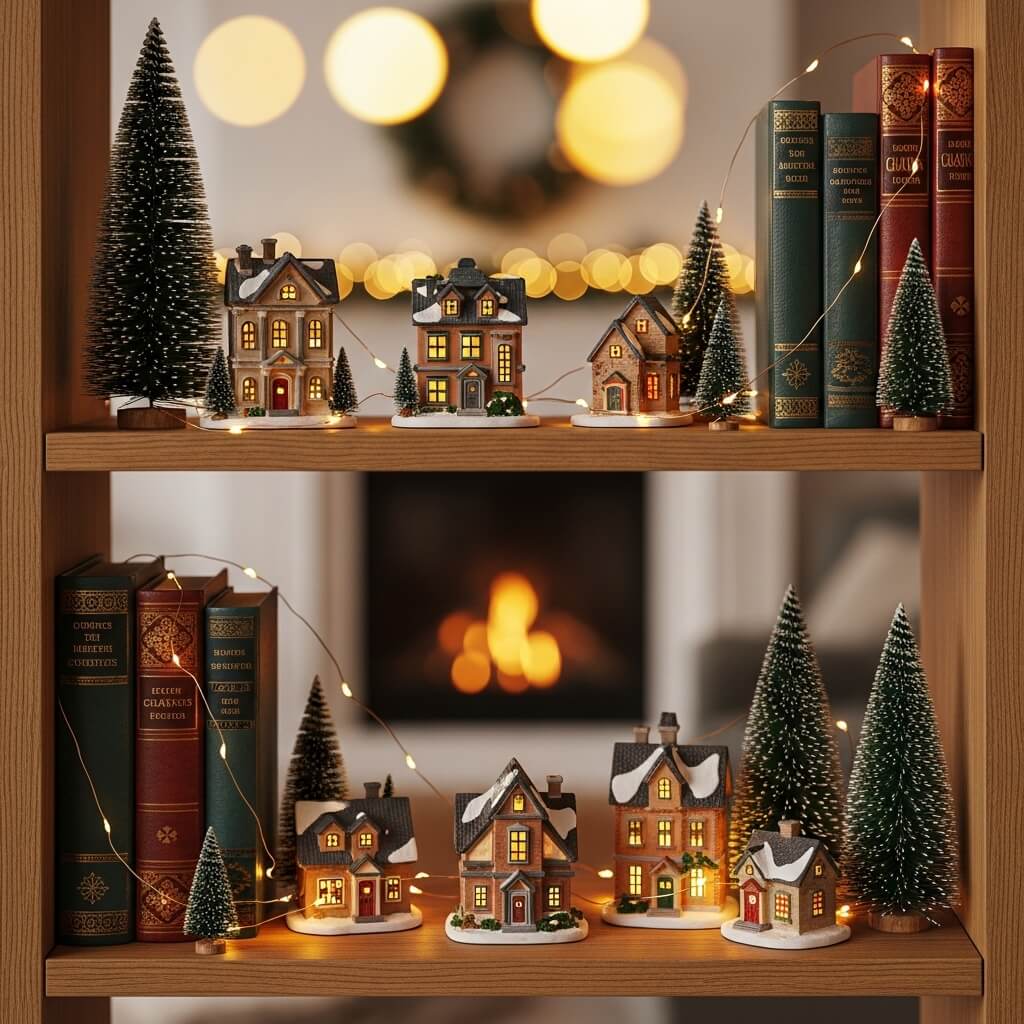
Short on space? I feel you. Create a charming, mini Christmas Village nestled right into your bookshelf. Tuck a few houses and trees between your books for a delightful, literary-themed surprise. It’s a fantastic way to weave Christmas magic into an existing space.
Why (the idea) works so well:
- It’s perfect for apartment dwellers or anyone with limited flat surface area.
- It makes your everyday bookshelf part of the holiday fun.
- You can use smaller, less expensive village pieces for a big impact.
Story Time: My first apartment had zero mantle space, so my village lived on a bookshelf. Guests loved discovering it tucked between my novels, and it started a fun conversation every time.
6. Add a Working Model Train

Nothing says “classic holiday display” like a tiny train chugging through your Christmas Village. The movement and gentle sound (if you get a model with sound effects) add a whole new layer of charm and nostalgia to your Christmas decor.
How to make it work:
- Plan your layout around the train track first to ensure a smooth loop.
- Choose a train scale (like O or HO) that is proportional to your buildings.
- Leave enough clearance so the train doesn’t take out a tiny lamppost on every loop.
Personal Take: IMO, this is a commitment. The tracks take up space and it’s an added expense, but the joy it brings, especially to kids, is totally worth it. Start with a simple, battery-operated set.
7. A Whimsical Candy Land
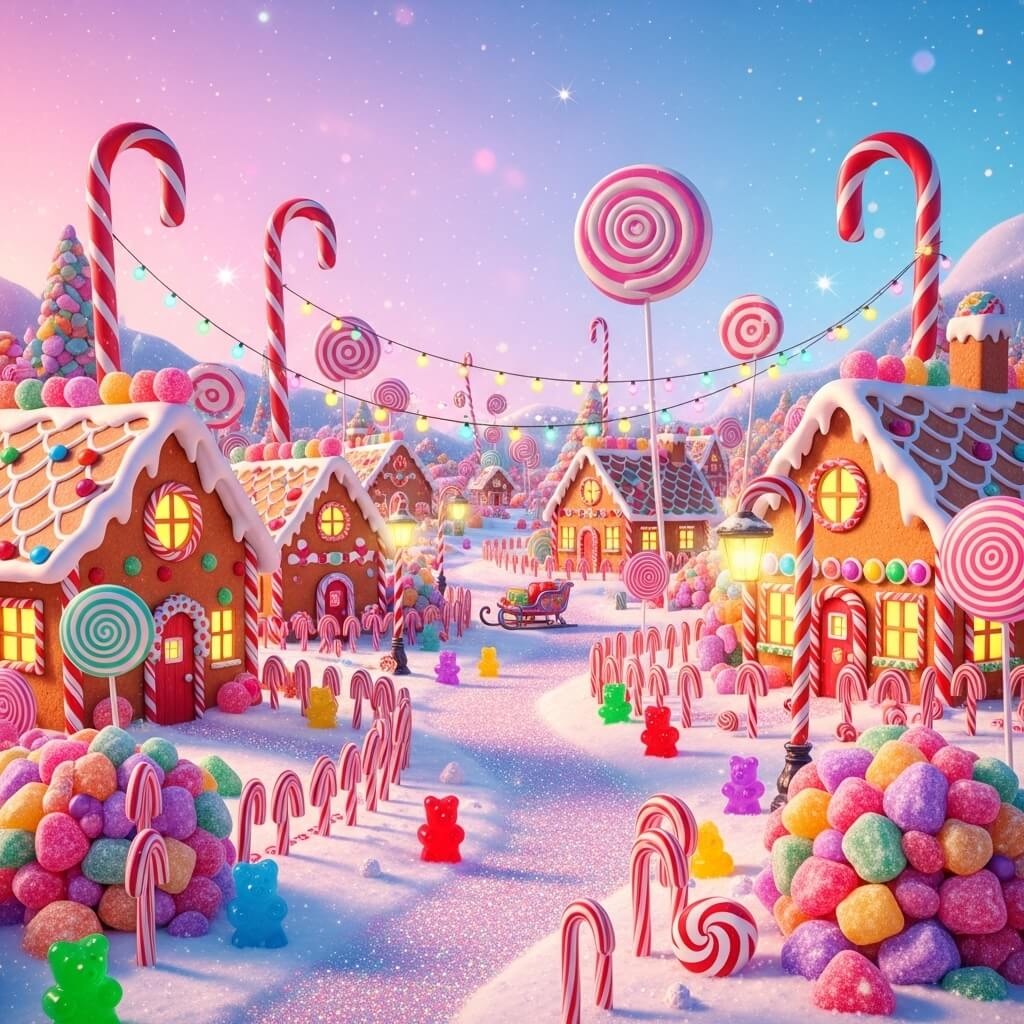
Who says everything has to be hyper-realistic? Embrace pure fantasy by creating a candy-themed corner. Use striped candy cane fences, gumdrop bushes, and maybe even a gingerbread house or two. This is a surefire way to make your Christmas display a kid-magnet.
Design ideas:
- Use lollipops stuck into a styrofoam base to create a colorful forest.
- Sprinkle colorful, round sprinkles around as pathway gravel.
- Look for village pieces that are already brightly colored or painted like sweets.
Pro Tip: If you’re worried about attracting actual bugs (yikes!), sealed, fake candy is your best friend. You can find incredibly realistic plastic versions.
8. The Great Outdoors Campground

Break the mold of a traditional town square. Set up a snowy campground complete with a crackling (LED) campfire, tiny tents, and figurines toasting marshmallows. This is such a unique and cozy addition to any Christmas Village collection.
Why it’s a must-try:
- It’s a budget-friendly way to expand your scene using different types of pieces.
- It tells a specific, nostalgic story that people can connect with.
- You can use natural elements like small twigs for firewood and real moss.
Personal Fave: I found a little figurine set of campers in sleeping bags, and it’s the cutest thing in my entire display. It adds a touch of humble, wintery fun.
9. Dramatic DIY Northern Lights
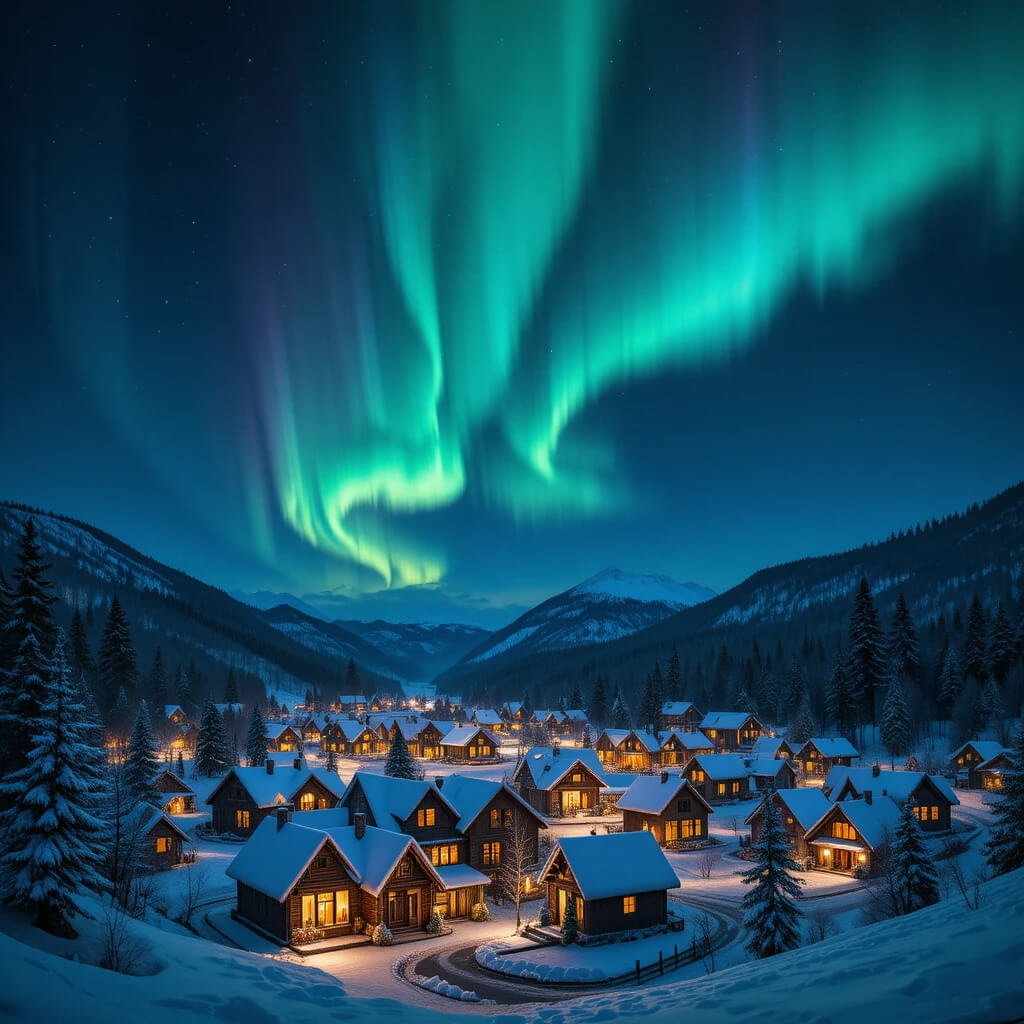
Create a breathtaking backdrop of the Aurora Borealis for your village. Using a simple gradient paint technique or even a dedicated LED light panel, you can cast an ethereal green and blue glow over your entire winter scene.
How to create the effect:
- Paint a poster board with a dark blue-to-teal-to-purple gradient using a dry-brush technique.
- For a easier, non-permanent option, use a smart color-changing light bulb pointed at a white backdrop.
- Flick the light gently to mimic the moving lights of a real aurora.
Downside: The painted backdrop is a one-trick pony, and storing a large board can be awkward. The light method is more versatile for your overall Christmas decor.
10. A Quaint Frozen Farmstead
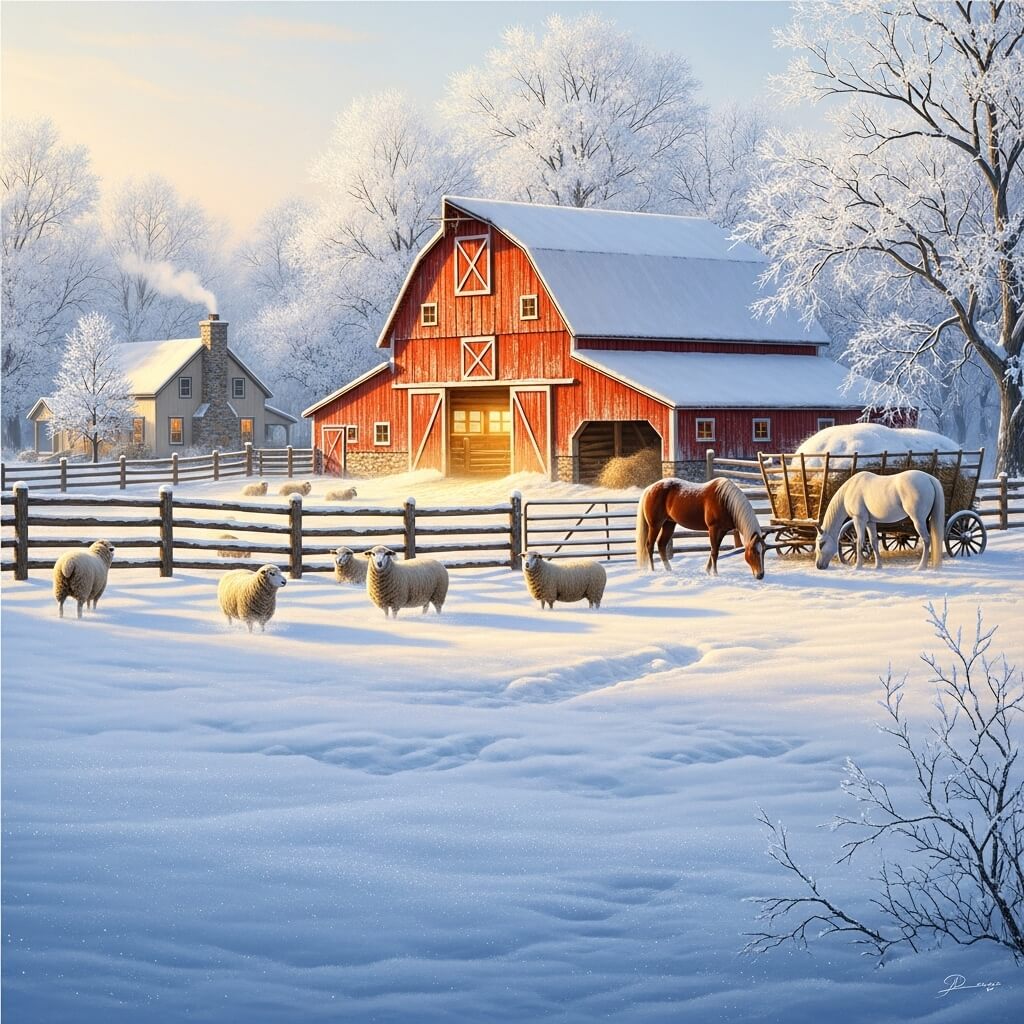
Not every part of your scene needs to be a bustling town. Dedicate a section to a quiet, snowy farm. Include a barn, a silo, some farm animals, and a frozen-over field. It adds rustic charm and variety to your Christmas landscape.
Key elements to include:
- A classic red barn is always a winner.
- Look for miniature farm animals like sheep, cows, and horses.
- Create a simple wooden fence from craft sticks to enclose a “pasture.”
- A tractor or a wagon filled with tiny “hay” adds a perfect finishing touch.
Pro Move: Use a bag of batting (the stuff for stuffing pillows) as a super fluffy, realistic layer of snow on the farmhouse roof and fields. It’s way more textured than spray snow.
11. Interactive Elements for Kids
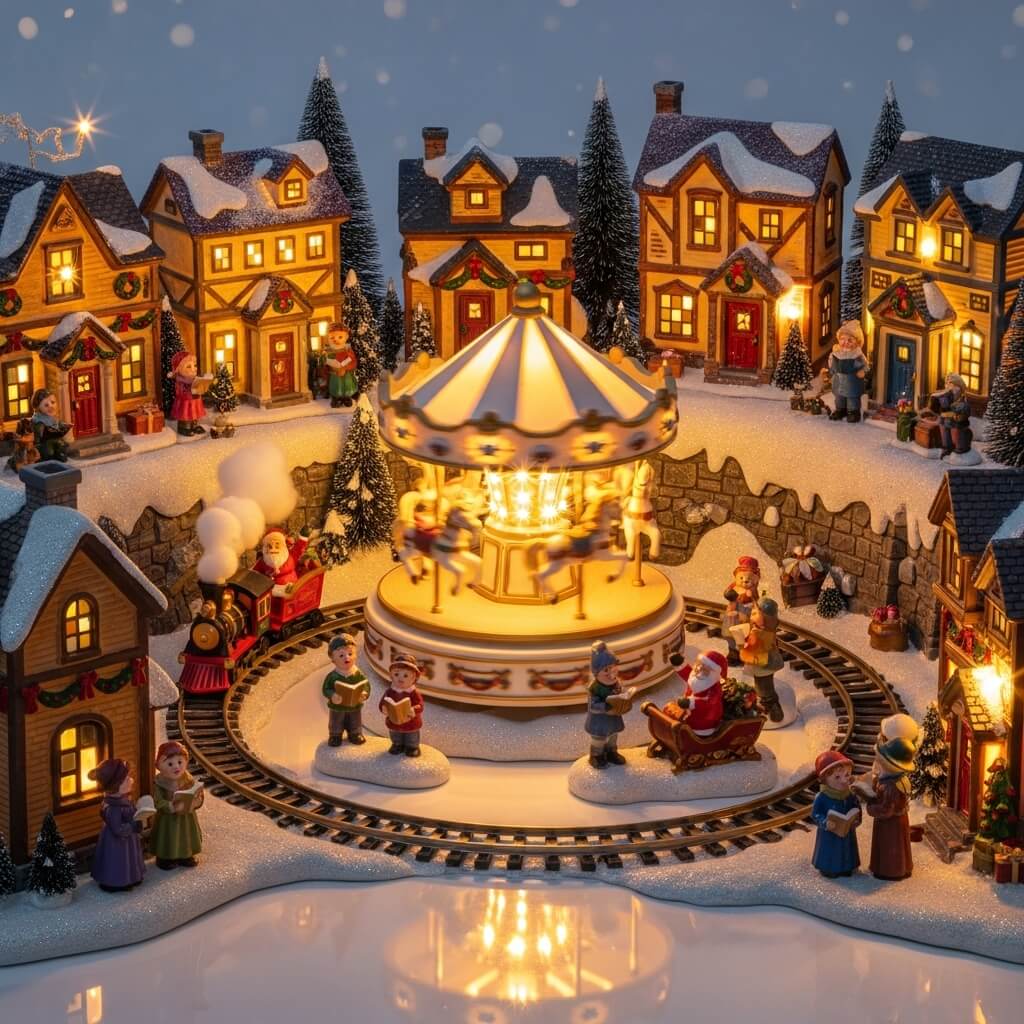
Make your Christmas Village a hands-on experience for the little ones. Include pieces that move, light up with a button, or make sound. This transforms your display from a “look, don’t touch” museum piece into a core part of their holiday memory.
Fun additions:
- A carousel that actually spins.
- A figurine that chops wood when you press a button.
- A train, as mentioned before, is the ultimate interactive piece.
Personal Take: Sure, it might break your concentration while binge-watching holiday movies, but hearing the kids’ excitement is a huge part of the magic. Just maybe keep the super-fragile pieces out of reach.
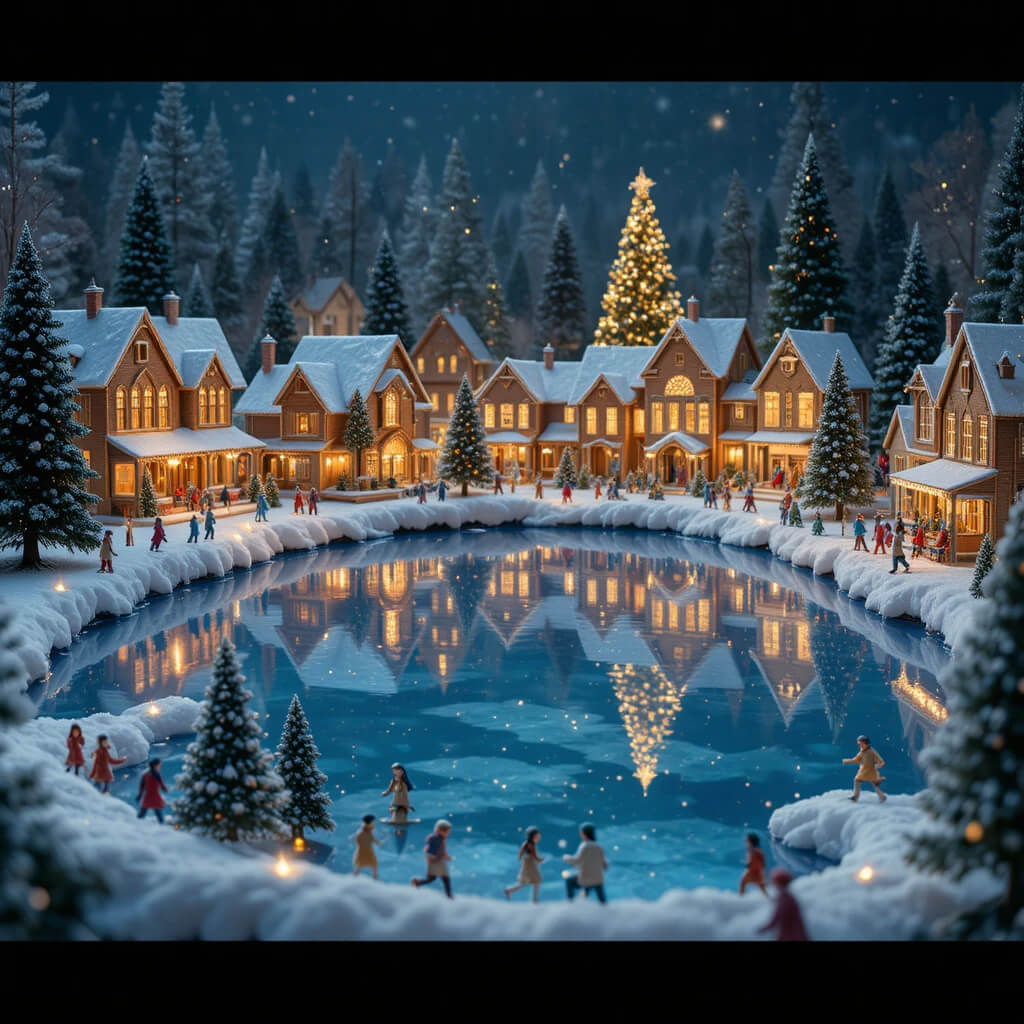
12. The Sparkling Ice Rink
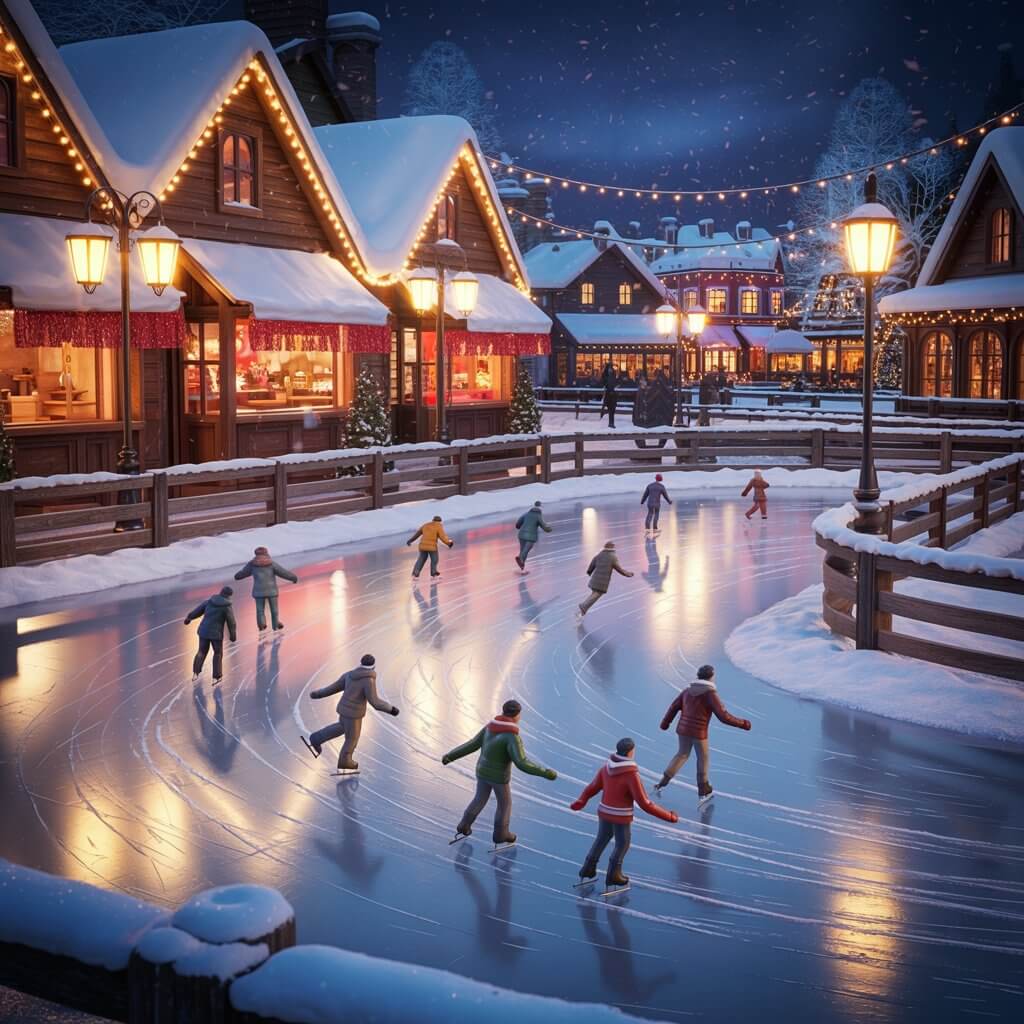
We talked about a mirror lake, but let’s take it up a notch. Create a dedicated skating rink using a small mirror tile and surround it with a wooden barrier. Add tiny skaters and maybe a “hot cocoa” stand nearby for a classic winter park feel.
How to set the scene:
- Use balsa wood or popsicle sticks to create a simple fence around the mirror.
- Look for figurines that are specifically in skating poses.
- Place a few benches and street lamps around the rink to make it a social hub.
Why it works: It creates a natural focal point and activity within your village, making the tiny world feel bustling and lived-in. It’s a little hub of joy.
13. A Glowing Cathedral Centerpiece
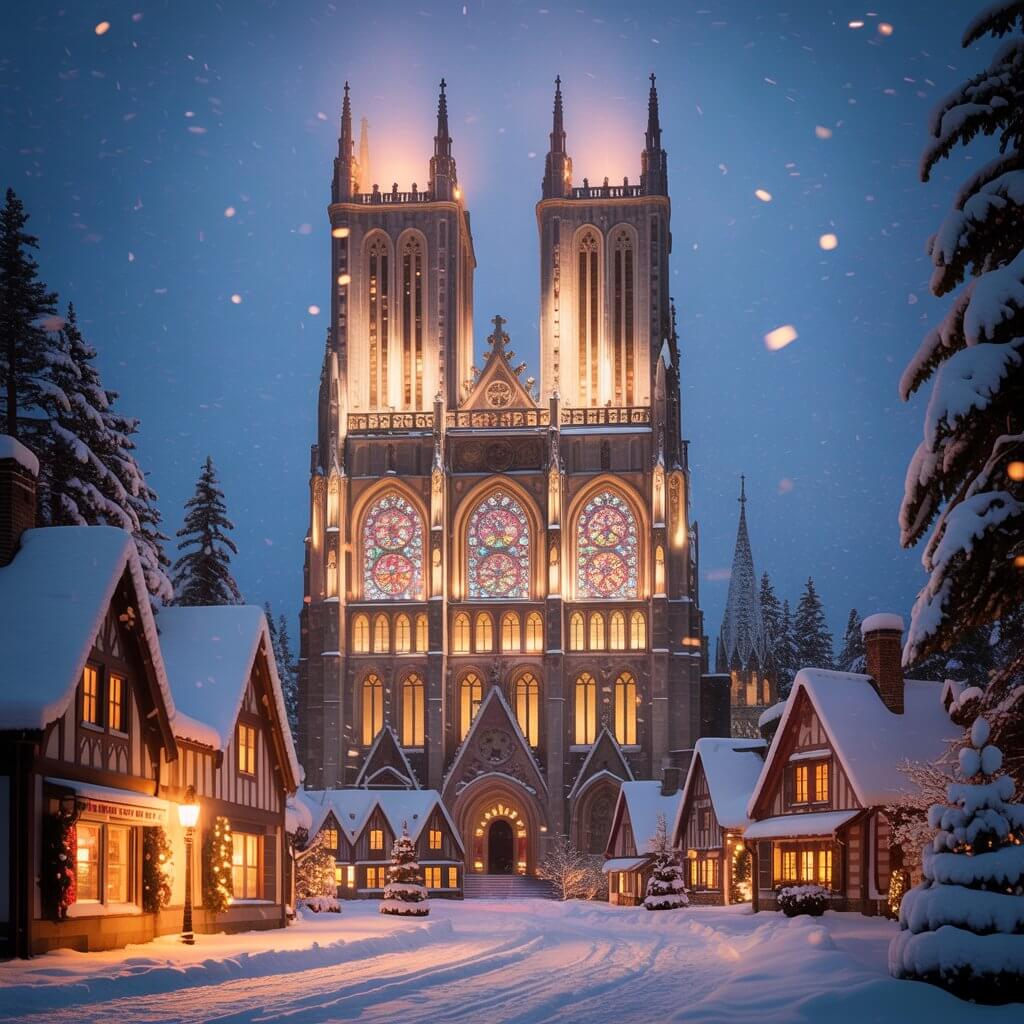
Anchor your entire Christmas display with a stunning, light-up cathedral or church. This often becomes the visual center of gravity for your town and reinforces the traditional spirit of the season. The stained-glass window effects are just gorgeous when lit from within.
Why it’s a must-try:
- It adds height and architectural interest to your layout.
- The warm light from a church creates a welcoming, heartwarming glow.
- It’s a classic piece you’ll use year after year.
Story Time: My grandmother always had a glowing church in her village, and the smell of her cooking combined with that warm light is my core Christmas memory. I had to get one for my own home.
14. The “After Hours” Vignette
Show that your village has a nightlife! Create a small scene showing what happens after dark. A pub with glowing windows, a late-night baker, or a police officer on patrol. These small stories add a layer of humor and realism.
Fun ideas to depict:
- A tiny cat sitting on a pub roof.
- A figurine slipping on a patch of “ice.”
- A shopkeeper still sweeping inside their illuminated store.
Pro Tip: These tiny, humorous vignettes are what make people lean in and really look at your display. It’s where your personality shines through in your Christmas decor.
15. A Cozy Blanket of “Snow”
The final, unifying touch for any great Christmas Village is a consistent layer of snow. Whether you use a fluffy batting, a textured snow blanket, or a careful application of snow spray, this is what ties every element together into a cohesive winter wonderland.
How to choose your snow:
- Snow Blankets: Easy, reusable, and give a smooth, even coverage.
- Batting: Great for deep, fluffy, realistic snowdrifts.
- Spray Snow: Perfect for dusting rooftops and trees, but can be messy.
Wrapping Up
Building your Christmas Village is one of the most personal and joyful parts of setting up your Christmas decor.
It’s not about having the most expensive pieces or the most perfect layout; it’s about creating a little world that brings you happiness every time you glance at it.
I hope these Christmas Village ideas have sparked some inspiration for your own holiday setup. Remember, the best Christmas display is the one that makes you smile.
So, which of these ideas are you stealing for your own Christmas Village this year? I’d love to see your creations, so feel free to share your photos or tell me about your plans in the comments below.
Happy decorating!!